,fit(cover),quality(100)/https%3A%2F%2Ftrackercdn.com%2Fghost%2Fimages%2F2021%2F10%2F8209_BOCW_ZM_FORSAKEN_MAIN_QUEST.png/image.jpg)
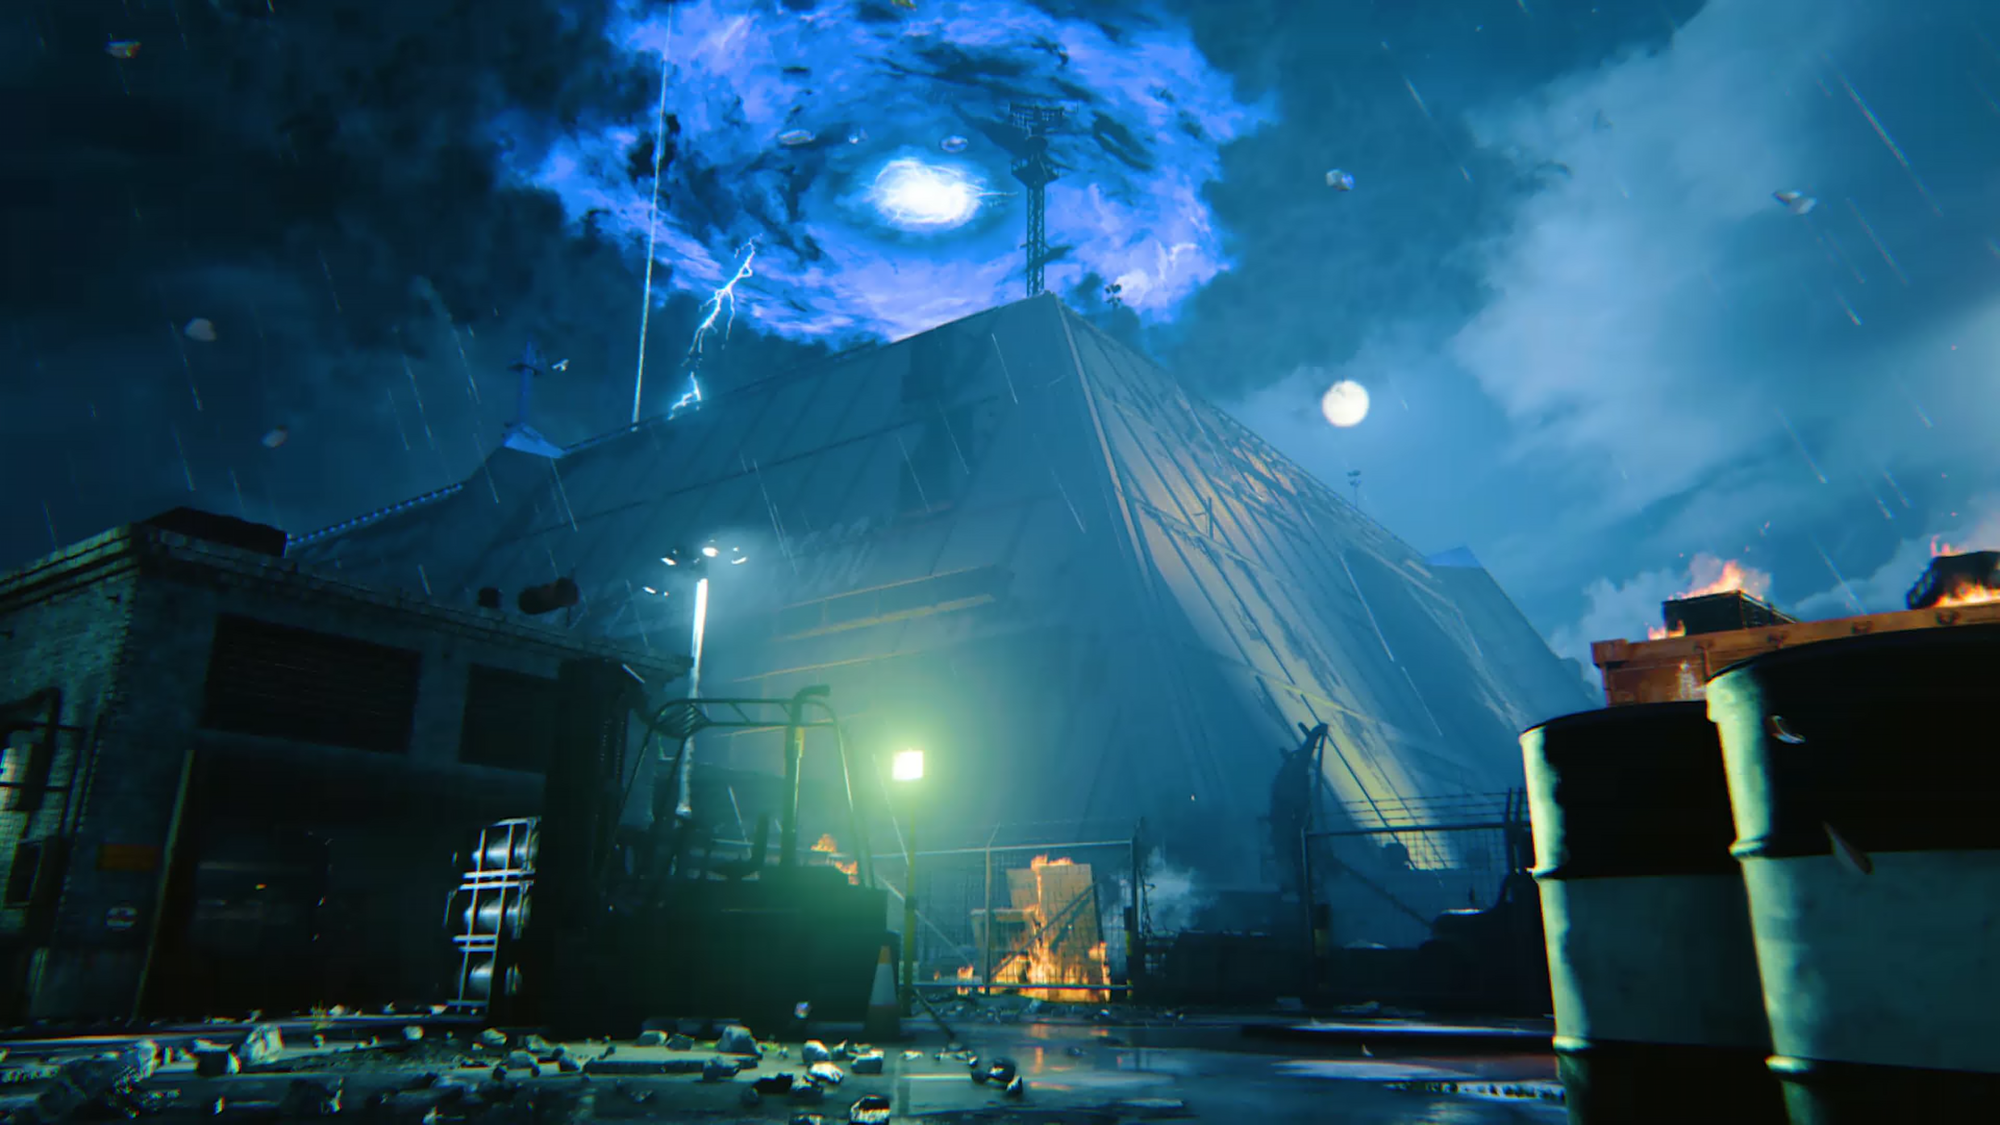
Season Six of Call of Duty: Black Ops Cold War Zombies casts players into Forsaken, a secluded facility harboring a secretive operation. At its core, players are tasked only with the goal of survival. However, experienced Requiem agents are ordered to extract the lost soul who could lead to Requiem’s salvation – or Omega’s supremacy, through the Pyrrhic Victory Main Quest.
Pyrrhic Victory serves as the Main Easter Egg of Forsaken. The rewards for completing it are as follows.
- Pyrrhic Victory Dark Ops Challenge (XP & Calling Card)
- Ending Cinematic Cutscene
Pyrrhic Victory
Prerequisites
- Unlock the Pack-a-Punch
- Interact with the button in Observation Tower to begin the Main Quest
Obtain the Fuel Tank
Navigate to Fuel Processing, each player in the match must simultaneously interact with the four Processing Tanks to activate them. This will begin a lockdown sequence in which players must kill waves of enemies near the Processing Tanks. Upon completion, the Fuel Tank can be collected from the center of the room.
If the lockdown sequence is failed, progress to the next Round to try again.
Collect Catalyzed Crystal Shards
Obtain the Chrysalax.
Large Aetherium growths can be found in each of the following three locations. Navigate to a growth and shoot each of the three orbs that are orbiting it with a ranged weapon. Next, melee the growth with the Chrysalax and collect the Crystal Shard.
Upon collecting the Crystal Shard, an Abomination will spawn nearby. Throw the Crystal Shard, now found in the Tactical Equipment slot, into its mouth. Finally, kill the Abomination and collect the Catalyzed Crystal Shard that it drops.
Repeat this process for each of the three Aetherium growths.
Obtain the Monitoring Device
Obtain a Pack-a-Punch'd weapon with the Dead Wire Ammo Mod and an Arcade Token.
Navigate to the Arcade and electrify (Dead Wire) a Zombie near the Grand Prix Arcade Machine to activate it. Next, interact with the Arcade Machine to spend $2,000 and deploy an ARC-XD which the player will take control of.
Quickly navigate the ARC-XD to the TV Store and locate the loosened vent, the pulses emitting from the vehicle will clear the obstruction, allowing the player to drive through the vent. Next, position the ARC-XD near the shelves and detonate it.
Finally, return to the TV Store, as a player, and collect the Monitoring Device from the shelf.
Obtain the Housing Unit
Progress through the Rounds until an Abomination is spawned.
Navigate to the Board Room and locate the Housing Unit found stuck to the ceiling. Allow the Abomination to use its charge attack in this general area, upon doing so, the Housing Unit will fall and can be collected.
Assemble Aetherium Neutralizer
Navigate to and interact with the Workbench found on Main Street to assemble the Aetherium Neutralizer.
Activate Aetherium Neutralizer
Note: Upon activating the Aetherium Neutralizer, you will soon be forcefully entered into the Boss Fight.
Interact with the Aetherium Neutralizer to activate it. This will begin an escort sequence in which the player must stay within close proximity of the device as it progresses through the environment. Stay within the surrounding shield to avoid damage.
As the Aetherium Neutralizer progresses, it will periodically state that a refuel is required. Shoot and collect the Catalyzed Crystal Shards that can be found throughout the environment, then interact with the Aetherium Neutralizer to deposit them.
Continue to escort the Aetherium Neutralizer, then interact with the Containment Door to confront the Forsaken.
Confront the Forsaken (Boss Fight)
To defeat The Forsaken, ready the Laser Cannons using Maxis' Essence. Deplete its shields, then deplete its health.
Maxis Essence Level
Maxis can be found hovering above the ground in various locations throughout Town Square. Kill enemies beneath her to increase her Essence Level, after which she will activate one of the two Laser Cannons.
The Forsaken (Shields)
To temporarily deplete The Forsaken's shield, attack the following locations on its body in the order provided, one at a time. Once the shield for any given location is depleted, The Forsaken is vulnerable.
- Left Shoulder
- Right Shoulder
- Lower Torso
- Head
The Forsaken (Health)
Once The Forsaken is vulnerable, use the Laser Cannons to shoot the body part in which the shield was removed from.
If done correctly, each attack will deplete a quarter of its health and the next body part can be attacked.
Forsaken Guide
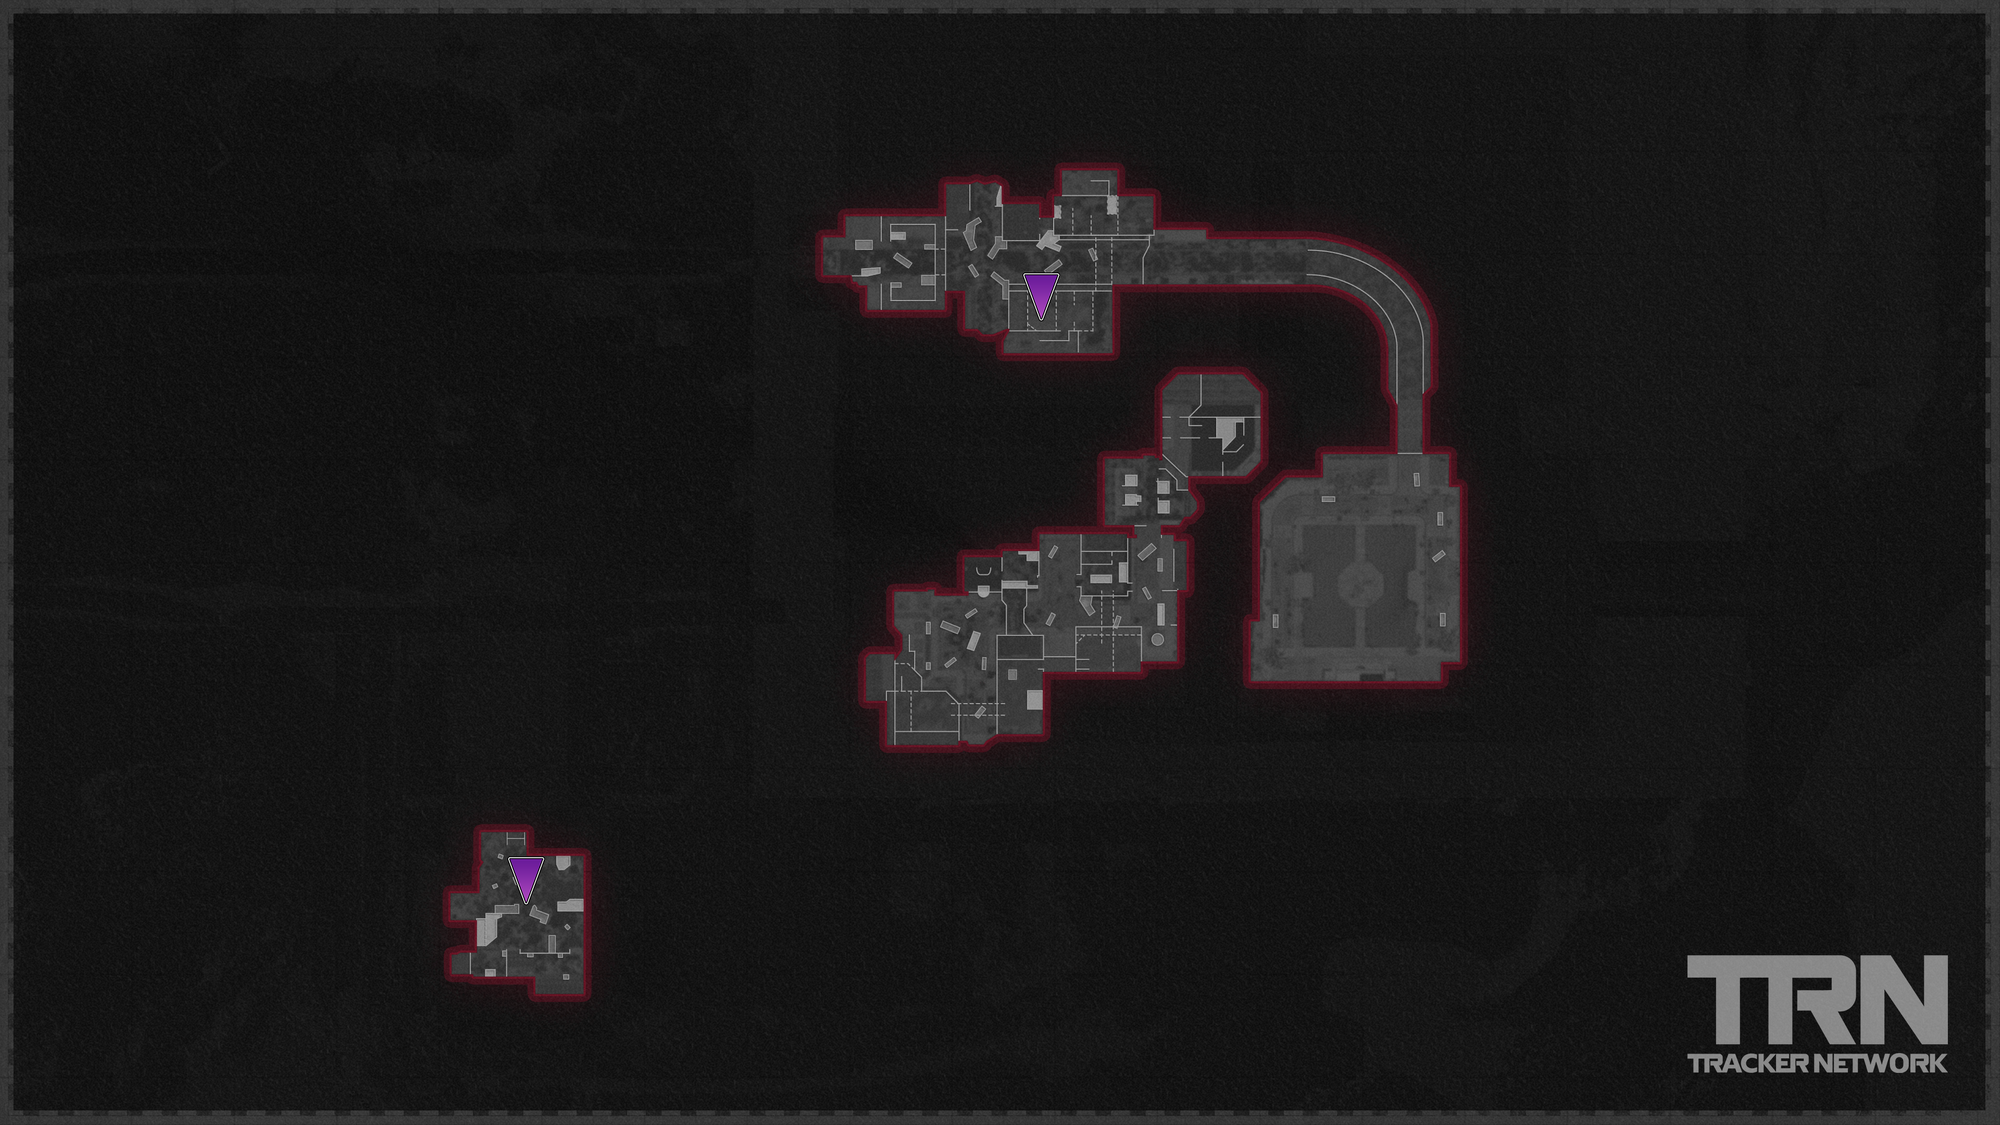
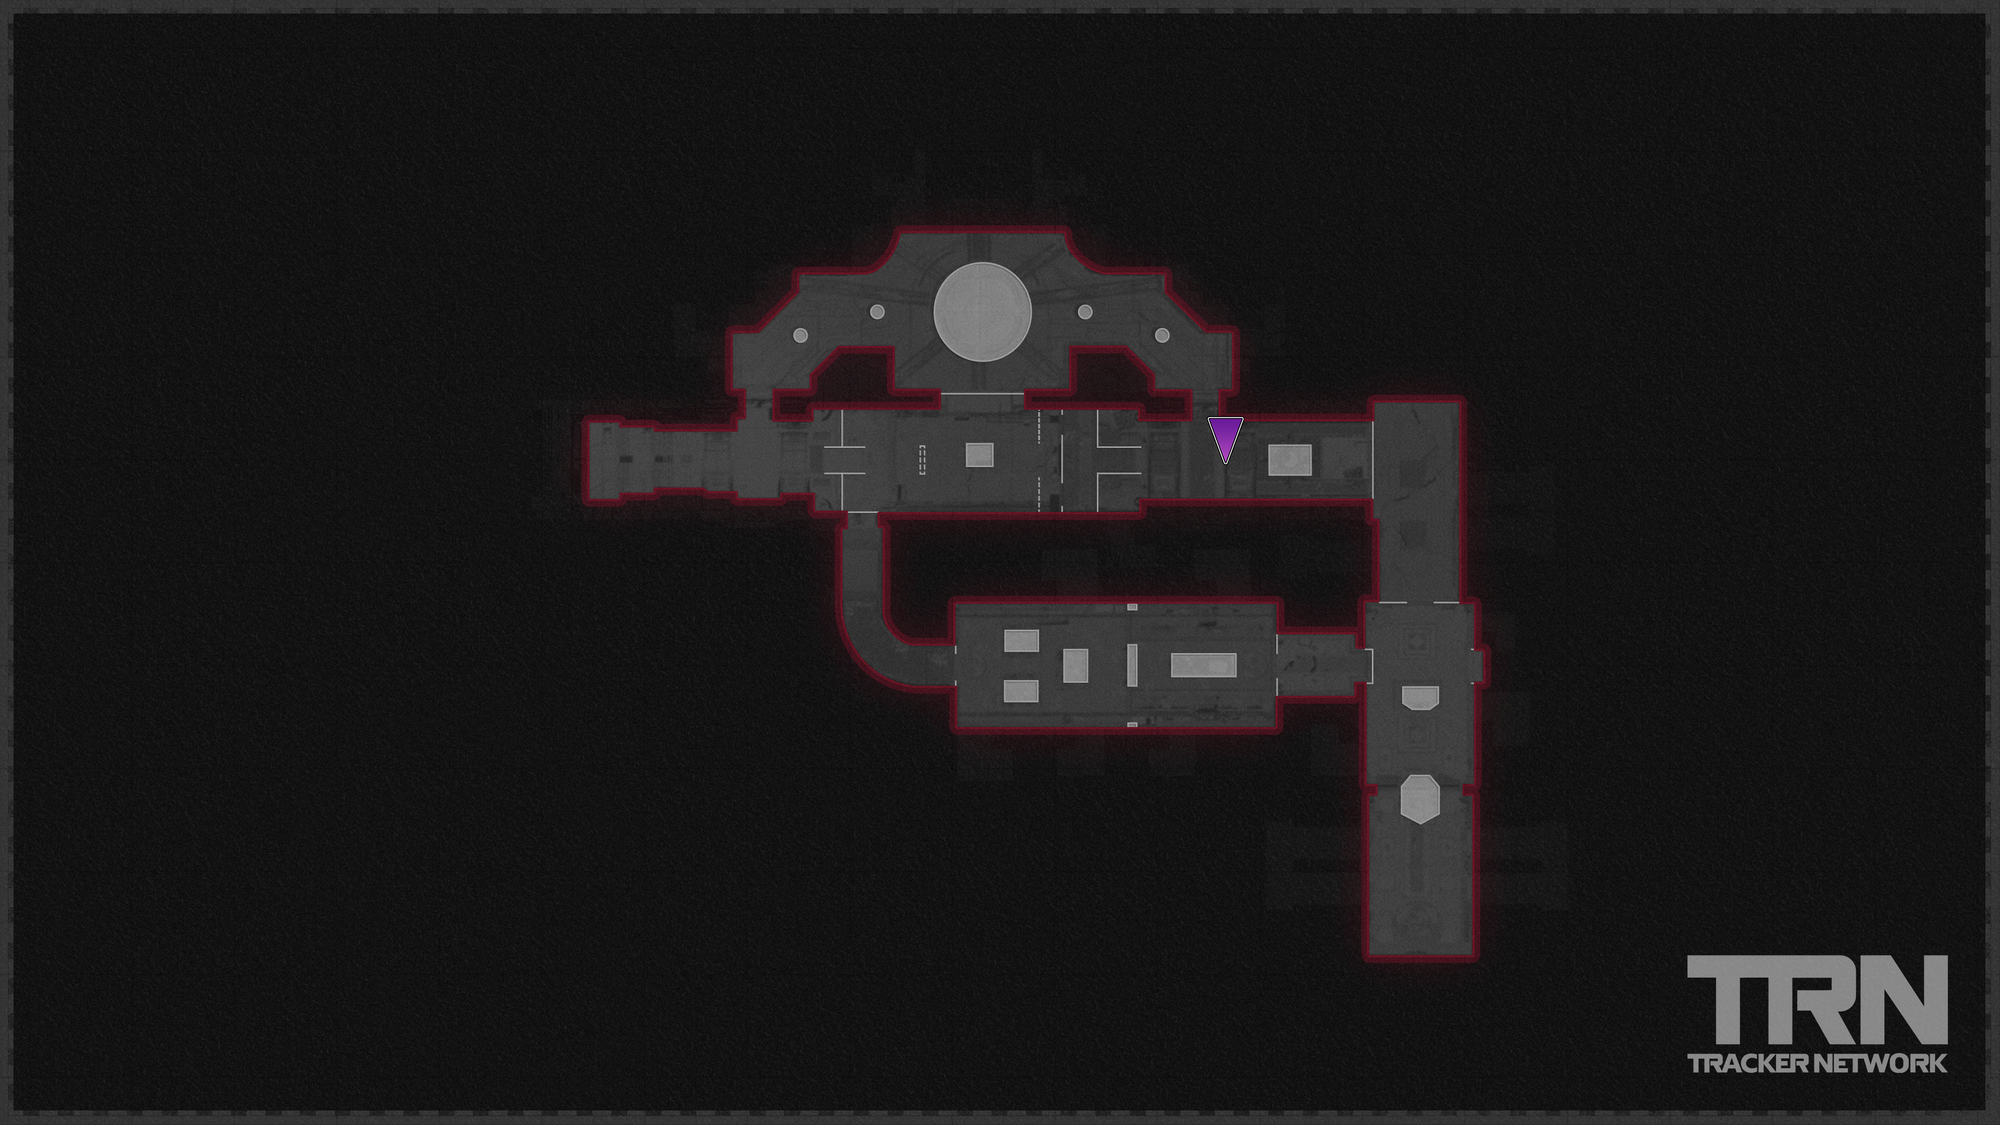
If you're not familiar with the Forsaken experience in Black Ops Cold War Zombies, the aforementioned terminology and locations may be difficult for you to understand. Because of this, we highly recommend that new players refer to our Map Breakdown for Forsaken; this will provide you with a map layout and a list of related guides for the map.
Stay tuned to @CODTracker on Twitter for full Call of Duty coverage, including the latest Black Ops Cold War news.
If you're new to Call of Duty Tracker, you should know that we also offer free services such as player statistics, leaderboards, and a cosmetics database. Consider checking us out and let us know on Twitter what you'd like to see next!
,fit(cover),quality(80)/https%3A%2F%2Ftrackercdn.com%2Fghost%2Fimages%2F2022%2F1%2F311248_AGB-COD-STATUS-REPORT-TOUT.jpg/image.jpg)
,fit(cover),quality(80)/https%3A%2F%2Ftrackercdn.com%2Fghost%2Fimages%2F2022%2F1%2F311232_XBOX_LUNAR_SALE_COD.png/image.jpg)
,fit(cover),quality(80)/https%3A%2F%2Ftrackercdn.com%2Fghost%2Fimages%2F2022%2F1%2F28647_BATTLENET_LUNAR_SALE_COD.png/image.jpg)
,fit(cover),quality(80)/https%3A%2F%2Ftrackercdn.com%2Fghost%2Fimages%2F2021%2F12%2F23523_PLAYSTATION_CALL_OF_DUTY_HOLIDAY_SALE.png/image.jpg)
,fit(cover),quality(80)/https%3A%2F%2Ftrackercdn.com%2Fghost%2Fimages%2F2021%2F12%2F23357_VGD-S1-ANNOUNCEMENT-002.jpg/image.jpg)
Comments